Frequently Asked Questions
>
Step-By-Step Guide
How do I setup a competition on Contest Master? (Step-by-step guide)
-
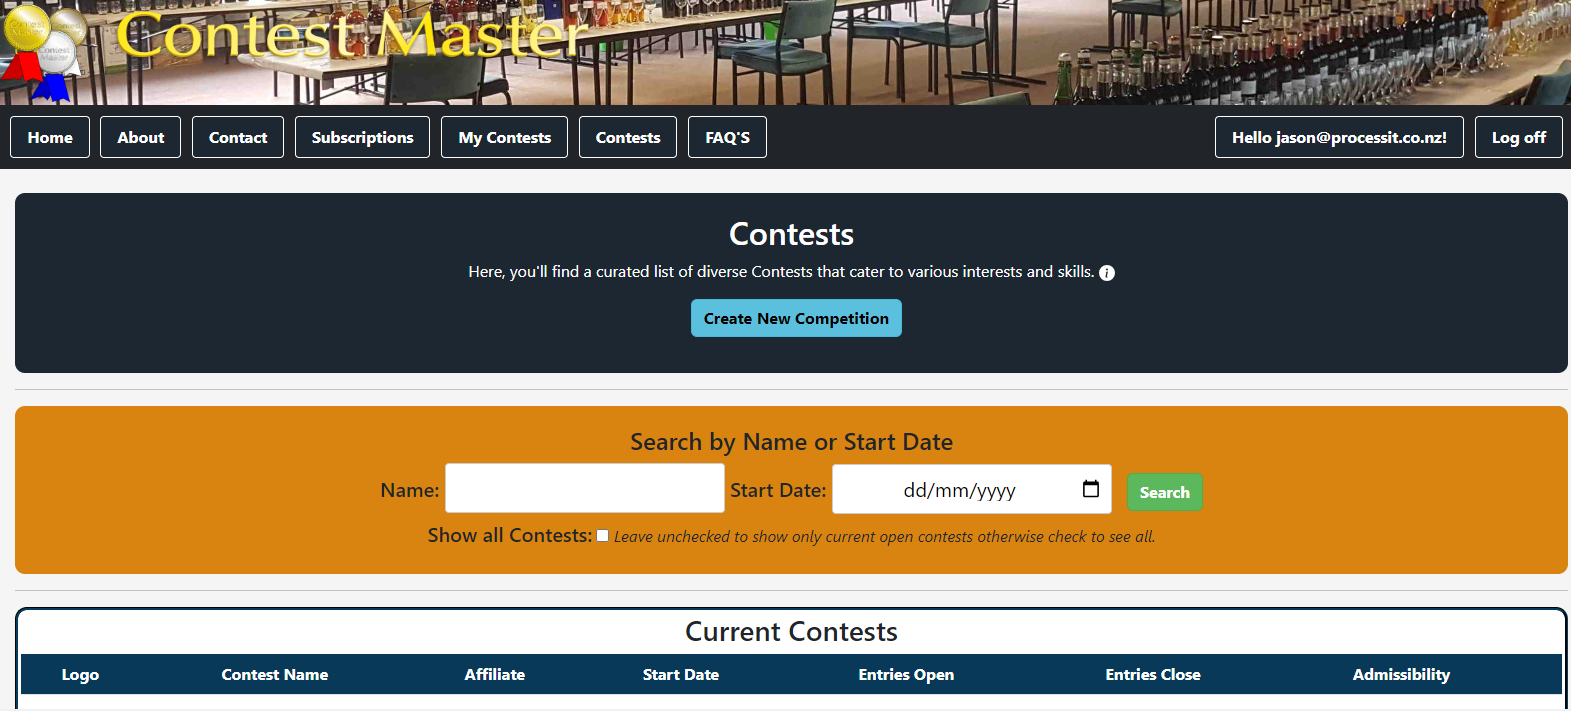
Upon registering for an Account, you will be directed to the Contest overview page,
which displays all active Contests on our platform. To initiate your Contest, select
"Create New Competition" and proceed to specify essential details such as the Start Date,
Competitor fees and Achievement levels, among others.
-
The "Administration" drop-down menu in the navigation bar is your go-to hub for all the
tools and settings you'll need to manage and set up your contest on Contest Master.
From here, you can access various sections dedicated to different aspects of contest
administration, including contest set up, participant management, judging criteria,
and results processing.

-
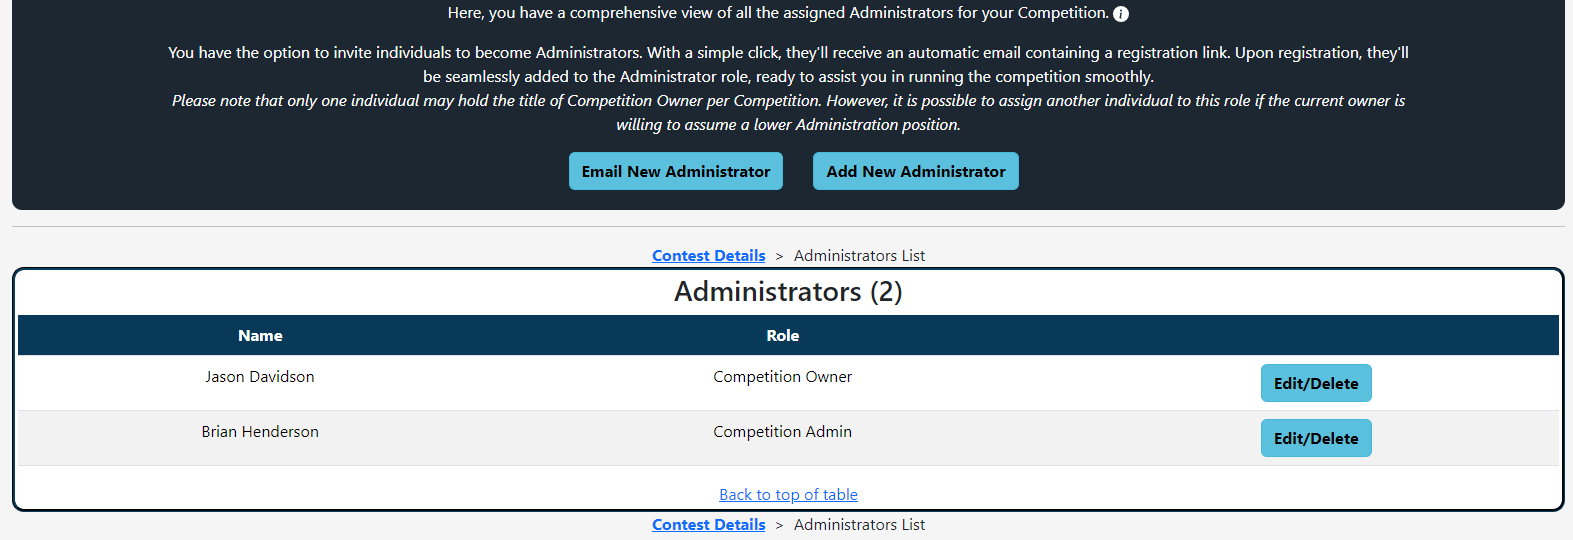
Incorporate additional Administrators to assist with the Contest's organisation by
extending email invitations or adding them directly if they are already registered.
Upon being added, these Administrators will gain access to various options enabling
them to contribute to both the setup and the execution of the Contest.
-
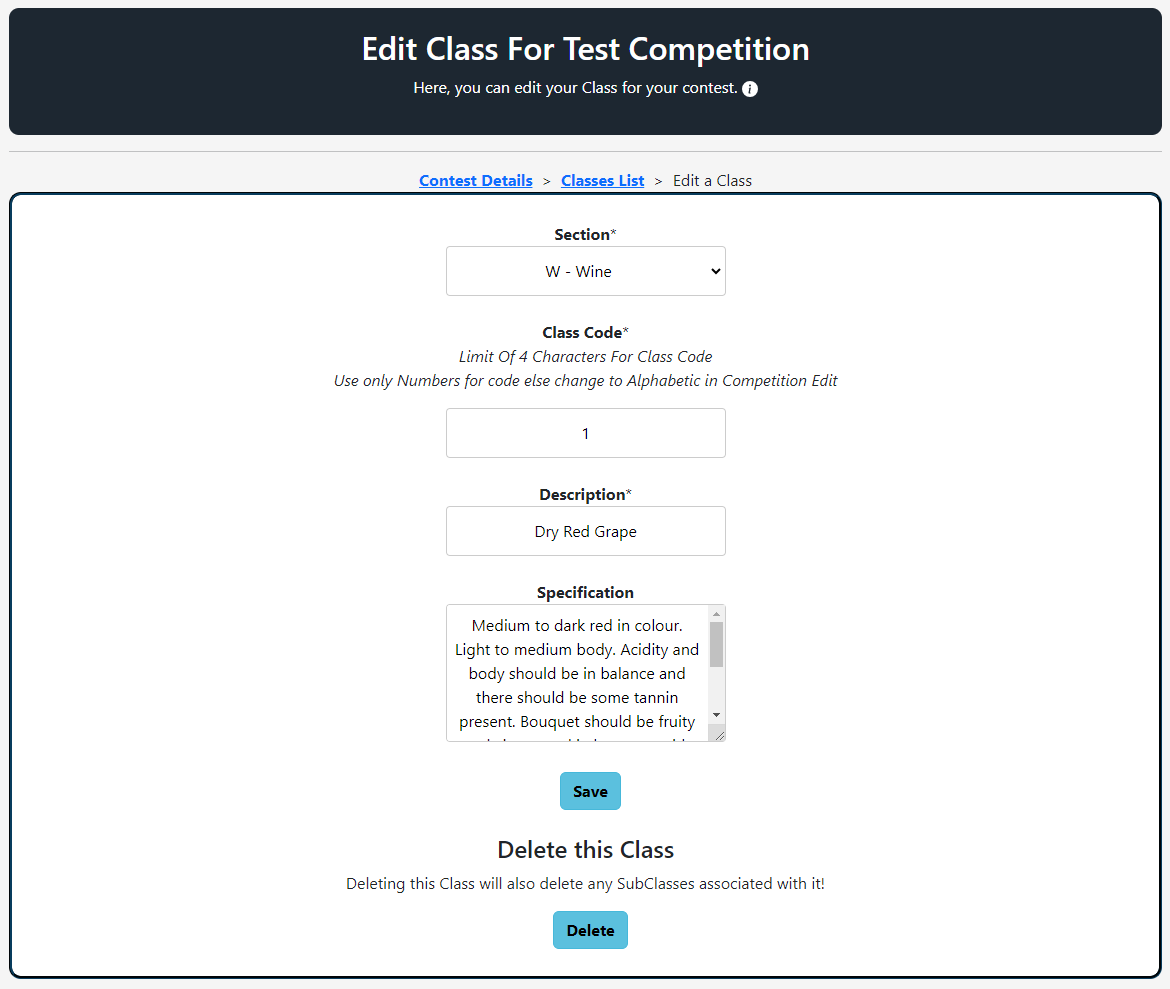
Proceed to configure your Contest's Sections, Classes, and Subclasses to organise the
Competition. Sections categorise the Competition broadly, Classes define specific Entry
types within a Section, and Subclasses offer a more detailed categorisation within a
Class. This can be executed manually, or you can utilise our preconfigured templates to
implement entire Competition structures with a single click. Should you need
specific templates for your Competition, please reach out to our support team — we are
eager to assist and will gladly add your specific templates to our collection.
-
Add any Affiliates, Groups, Prizes and Sponsors associated with your Competition, which will be
prominently displayed on your Contest details dashboard. This visibility serves as
excellent exposure for both your Sponsors and your Contest. Additionally, upload
any pertinent documentation for the Contest, including your Organisation's details,
Contest Rules and other relevant information.

-
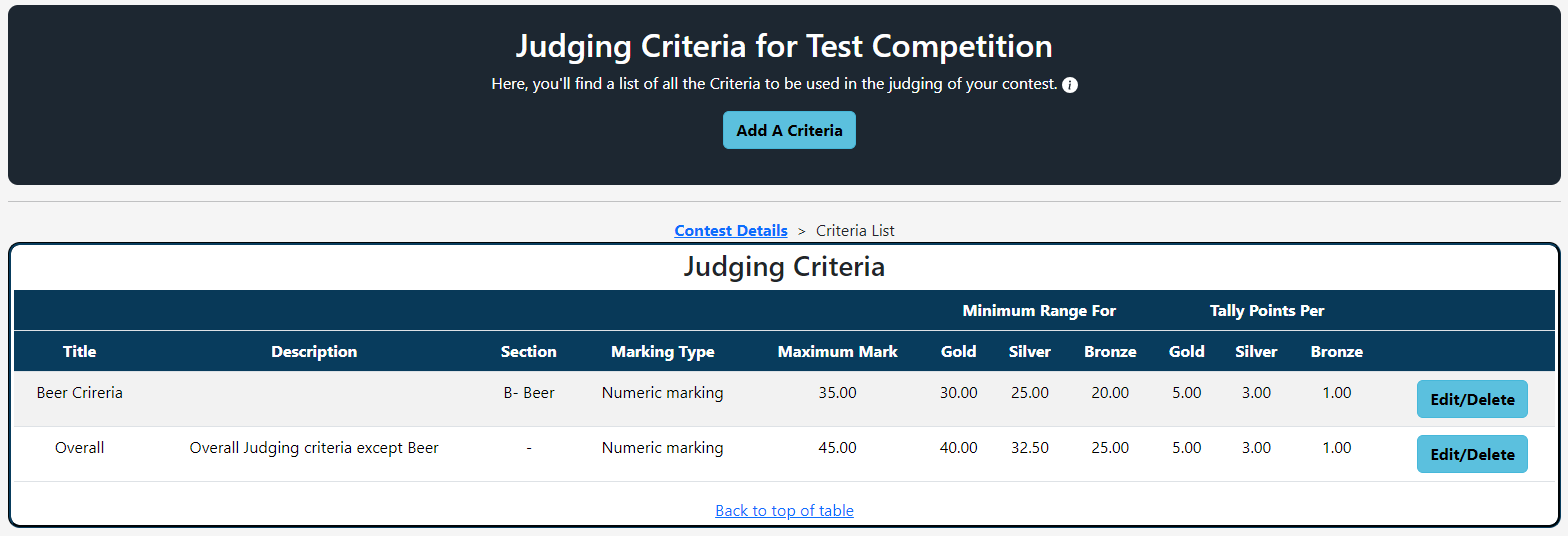
Establish the rules for your Contest within the Judging Criteria section. You can define
these rules specifically for each Section, or apply a single, general criterion across
your entire Contest. This section allows you to set thresholds for Gold, Silver and
Bronze awards, or determine maximum Marks for Entries, among other criteria.
-
Invite Judges to your Contest either through email invitations or by adding them manually.
Additionally, you have the option to enable users to apply for Judging roles if desired.
A dedicated section is available for uploading Judges' documentation, such as Credentials,
directly onto the site.

-
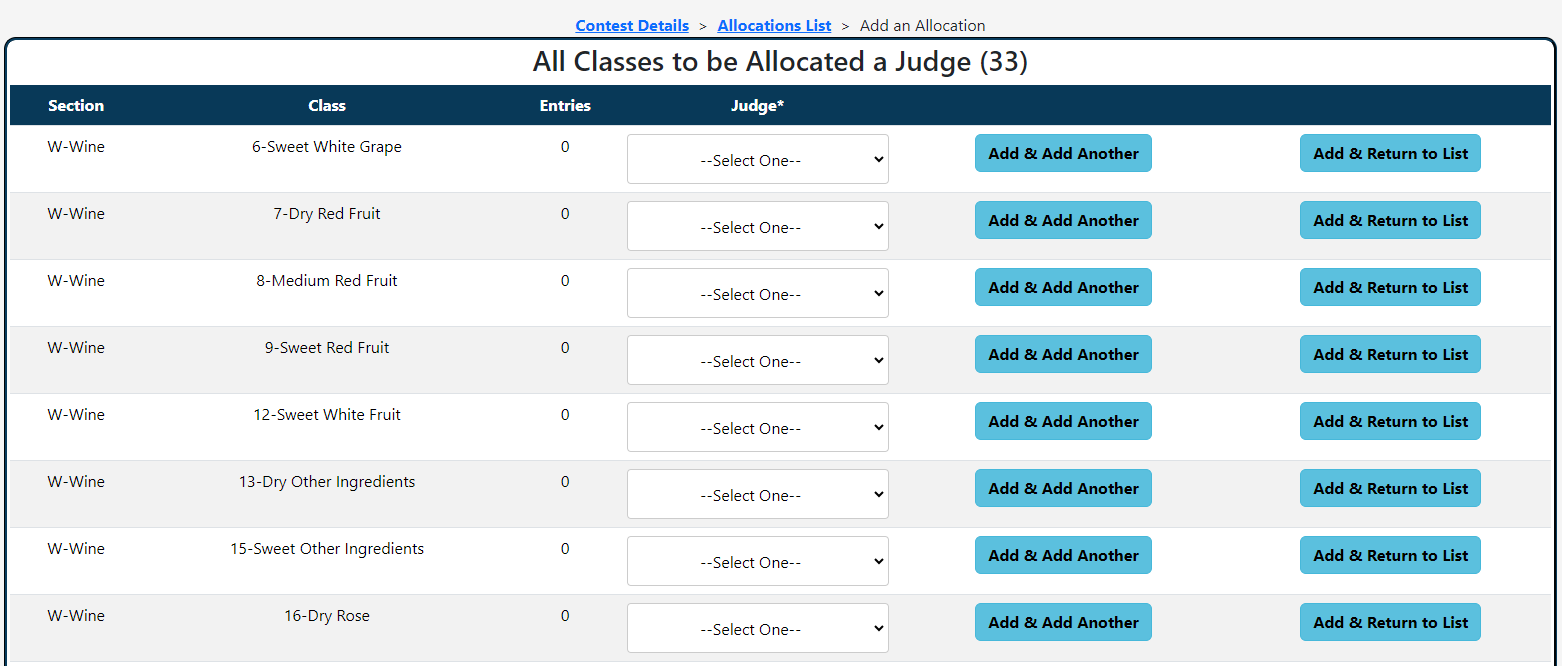
Assign your Judges to the specific Sections and Classes they will be evaluating. This
action grants them access to a dedicated page showcasing all the Entries they are
responsible for Judging. If your Contest utilizes multiple Judges per Section, the system
will display the remaining number of Judges needed to complete the assignments for each
Section.
-
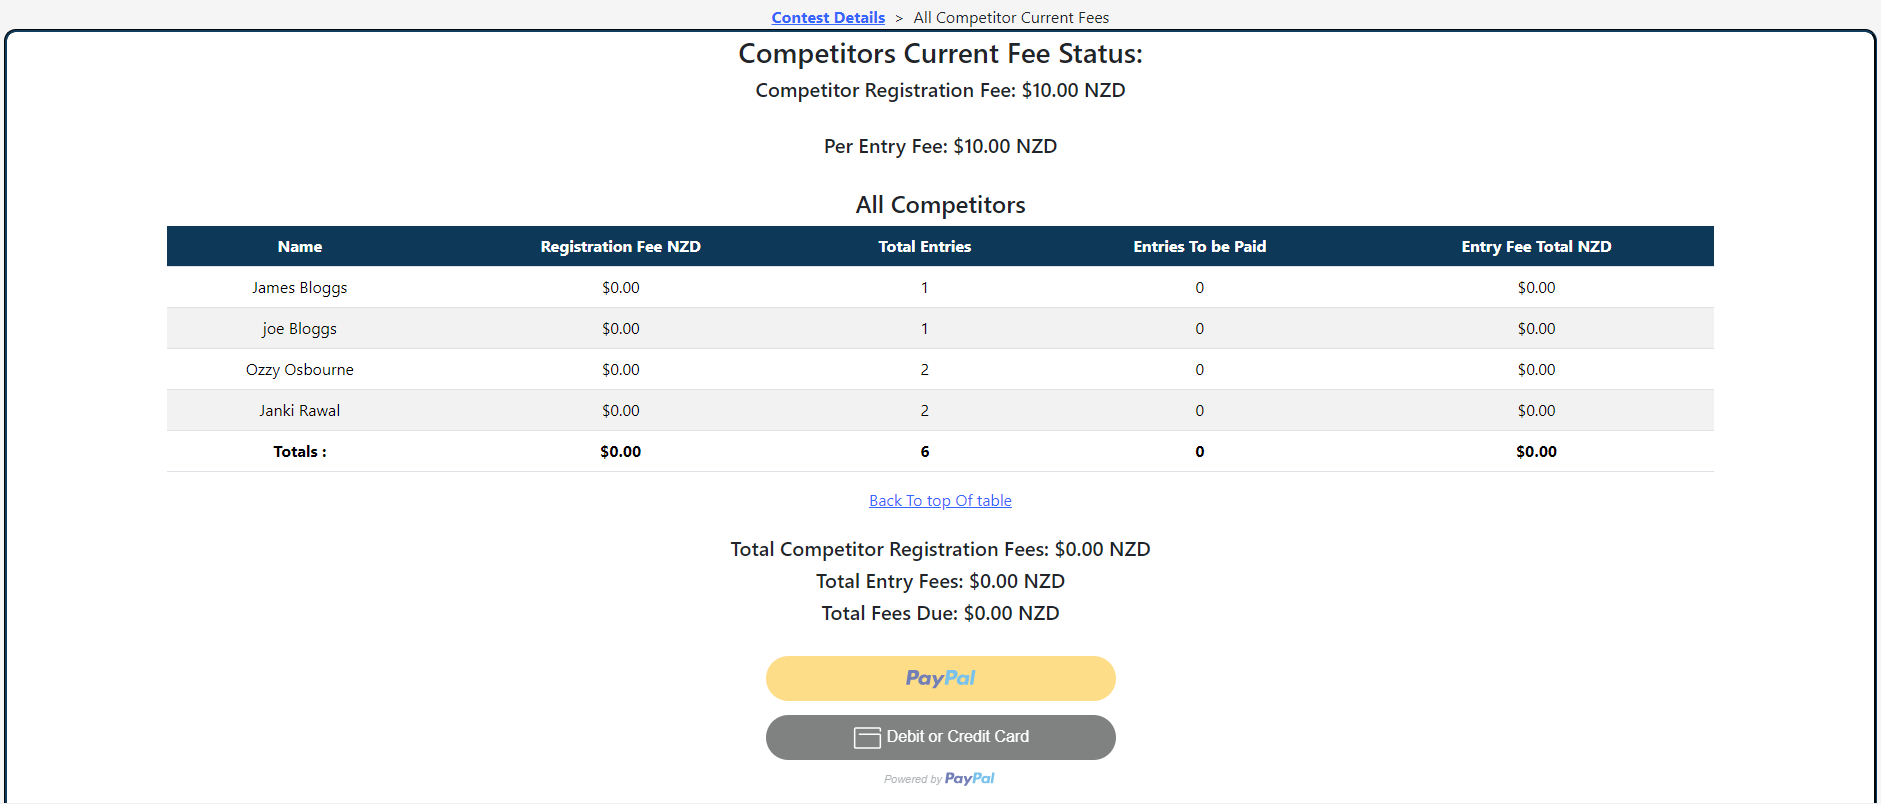
Simply proceed with the payment of the Competition Activation Fee to enable your contest.
For detailed information on pricing and fees, please refer to the 'About'
section on pricing.
-
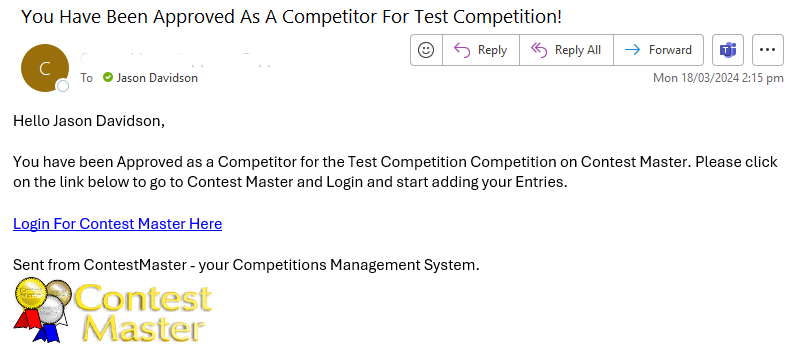
Now, await the participation of Competitors as they join your Contest and submit their
Entries. Additionally, you possess the flexibility to manually add Competitors or send invitations via email.
-
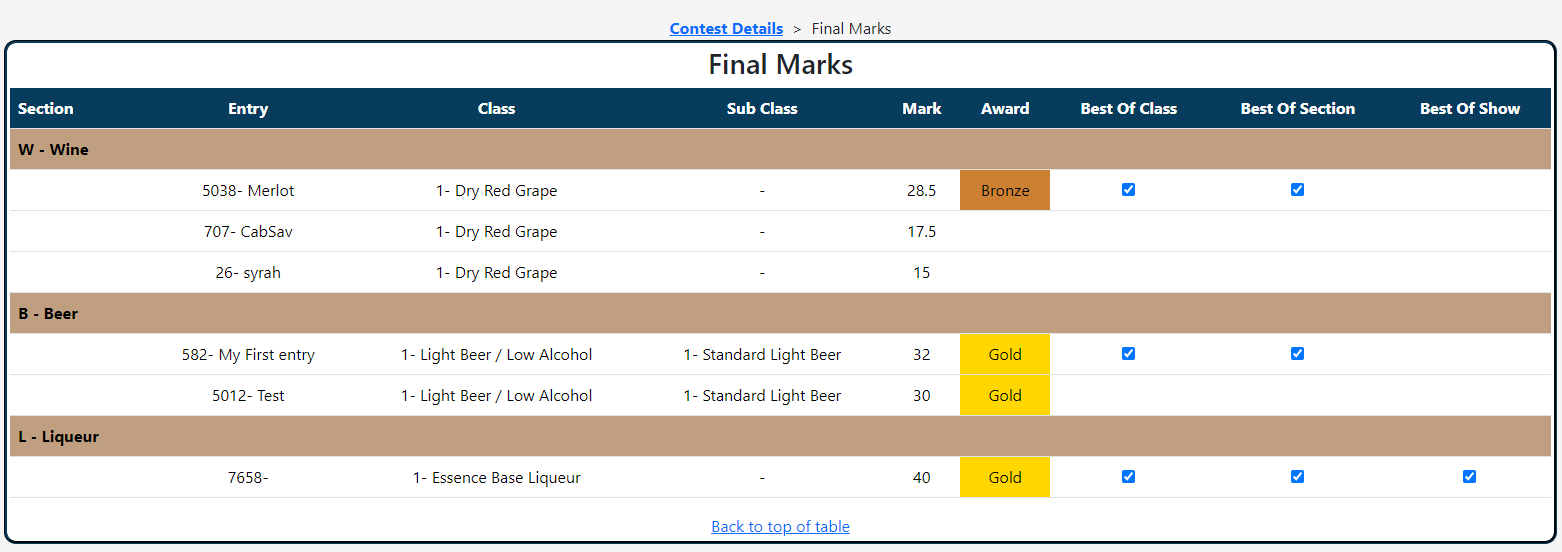
After all Entries have been submitted and evaluated, Judges and/or Administrators can input
the Marks into the system. With all Marks entered, a simple "Calculate" button will compute
the final results according to your selected Judging Criteria. From this point, you can
determine the best in Classes/Sections and select a "Best in Show" winner.
-
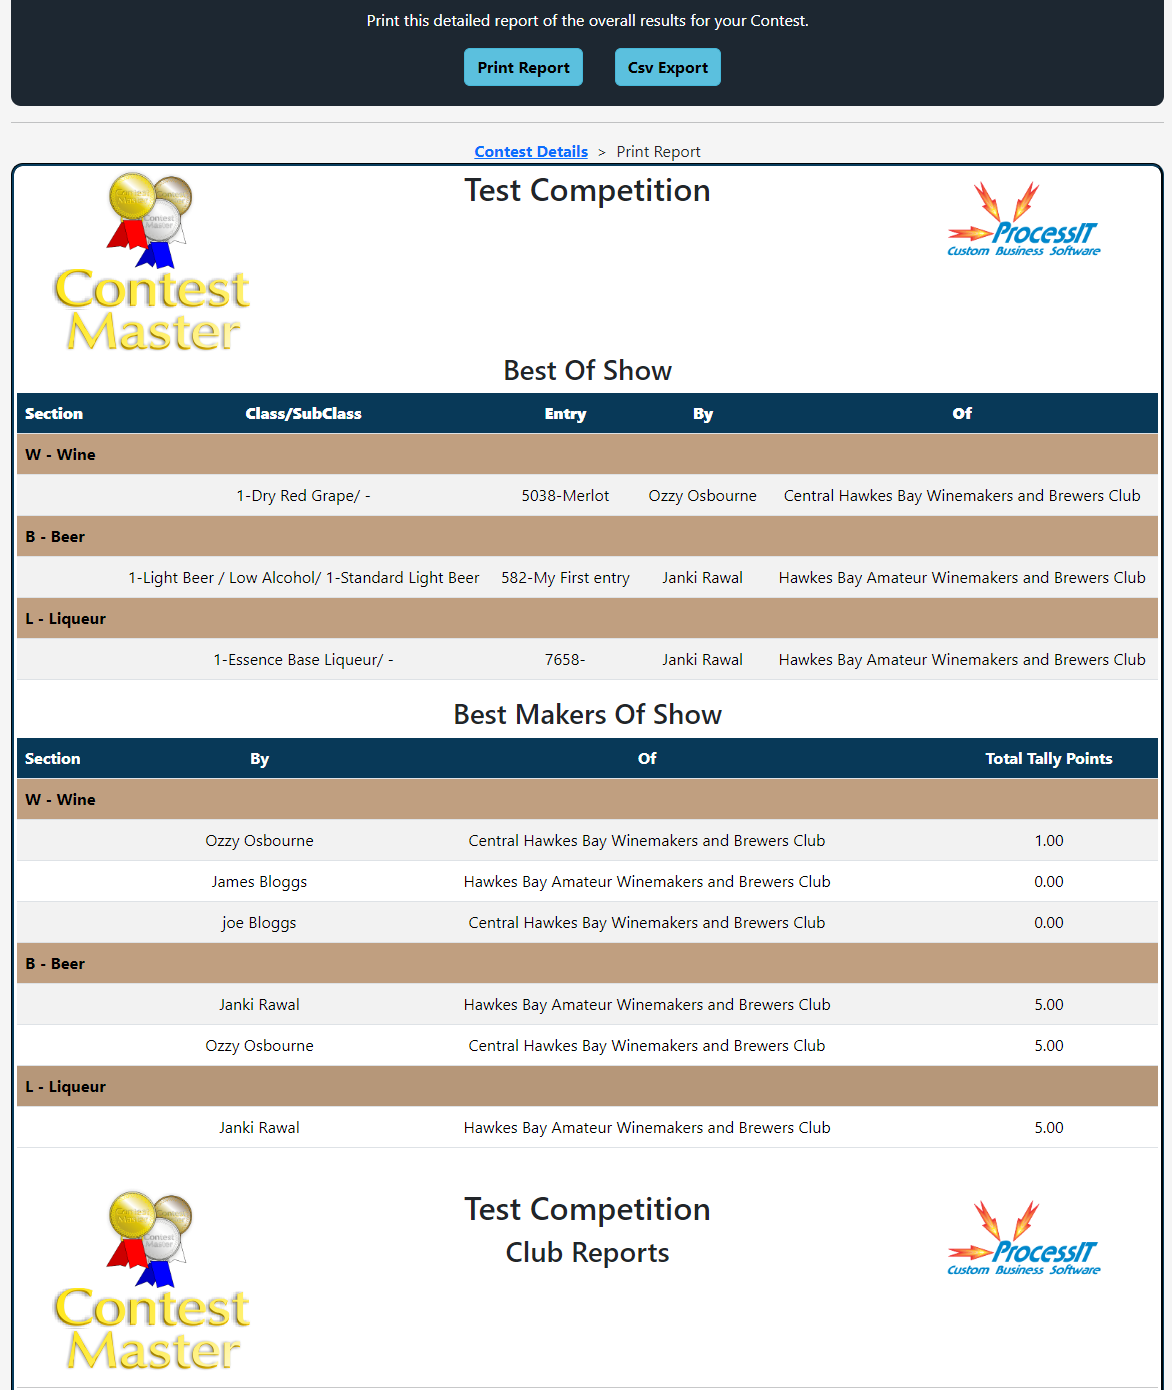
Following the calculation of results, you have the option to review all outcomes and
either view and publish our custom Report or export the data as a CSV file for further
analysis or record-keeping.
-
Congratulations!
You've successfully completed your contest setup! We hope your event runs smoothly and that Contest Master has provided you with the tools you need to manage it with ease. Thank you for choosing Contest Master to be a part of your competition. We're proud to support your efforts and wish you and your participants the best of luck!
Frequently Asked Questions
>
Step-By-Step Guide

